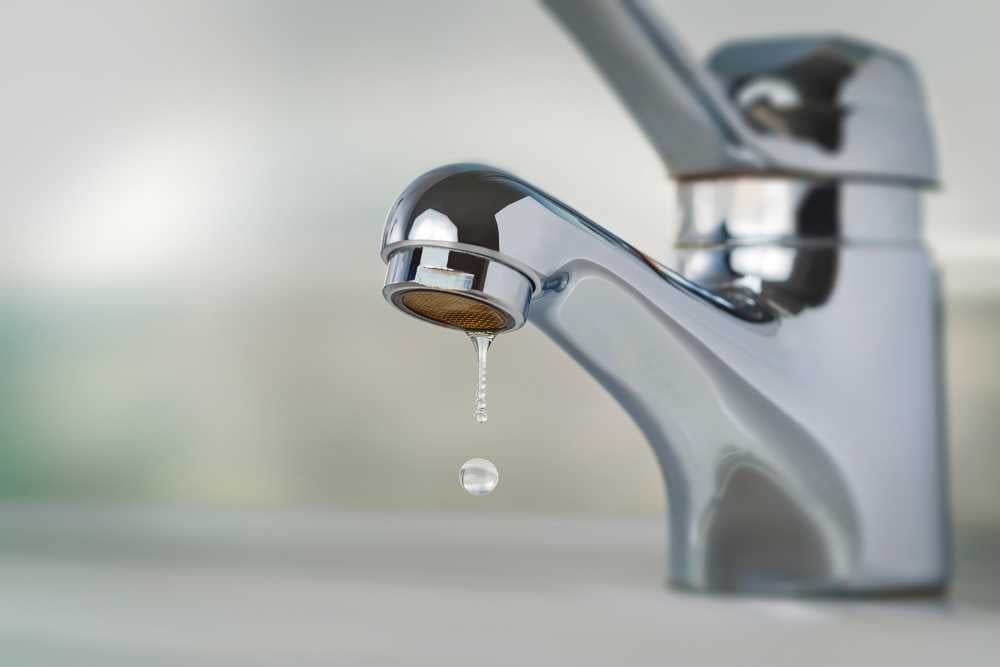
Whether it’s your kitchen faucet leaking or a bathroom faucet leaking, one leaky faucet can waste anywhere from three to 30 gallons of water every single day. If the constant drip-drip-drip doesn’t get your attention, your water bill will. The good news is that, by following a few simple steps, chances are pretty good you can fix the problem yourself.
A leaky faucet can cause a loss of anywhere from 3 to 30 gallons of water a day. Here’s what you should do to stop the dripping.
- The most likely culprits include a bad O-ring within the cartridge, a corroded seat valve, or a worn-out washer. These will be thrown away and replaced with a new part.
Shut off the water and remove the cartridge or the valve stem and check the washer and the seat, replace as necessary and reassemble.
Why is it dripping?
Before you start taking things apart, let’s break down some of the most common causes of a leaky faucet.
Bad O-ring.
A cartridge is a valve that controls the flow of water into the faucet spout. On cartridge faucets there’s an O-ring—the little disc attached to the stem screw that holds the faucet handle in place. If it’s loose or worn-out, it can cause your sink handle to leak. Of course, the cartridge itself could be worn out. If that’s the case, make sure you replace it with the exact same kind.
Corroded valve seat.
The valve seat connects the faucet and the spout. If the leak seems to be coming from the spout, it might be because a buildup of water sediment has corroded the valve seat.
Worn-out washers or seals.
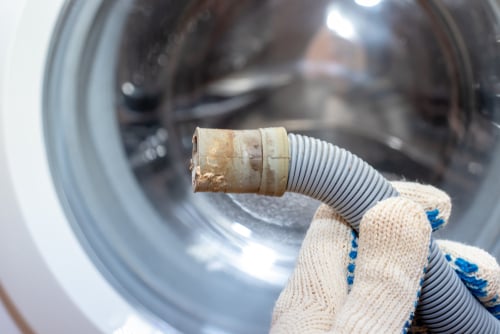
A leaky spout could be caused by a bad washer that rests against the valve seat. It’s just a matter of time before friction takes its toll. It could also be the wrong size washer or one that’s been installed incorrectly. Water sediments can also corrode inlet and outlet seals.
Water pressure.
If the faucet only drips now and then, or when you turn the handles a certain way, you should probably check your home’s water pressure.
Loose or broken parts.
The adjusting ring and packing nuts in the stream screw can become loose over time, causing your sink handle to leak. Try tightening or replacing the packing nut. If the leak is coming from the pipes underneath the sink, you probably have a broken pipe or fitting. If that’s the case, you should definitely call a plumber.
Know your faucet.
Faucets come in a variety of types. Each one has its own assembly—and its own possible causes of leaks. Learning about the four most common kinds of faucets will help you know how to take them apart and make any repairs.
Cartridge faucet
You’ll usually find these in bathroom sinks—you’ll recognize them by the handles on either side of the spout that moves up and down to turn the water on and off. Inside the sink is a cartridge that moves up and down to control water flow.
Disc faucet
These newer and pricier options operate with a single lever that rests on a cylindrical body.
Ball faucet
These faucets, typically found in kitchens, use a ball joint to switch between hot and cold. There’s a single handle on a rounded cap that’s mounted on top of the spout. You push up and down to adjust the pressure, left and right to adjust the temperature.
Compression washer faucet
The oldest type of faucet, compression washer faucets are still in use today. Their two handles move side to side. You can feel the faucet handle tighten as you shut it off. These use rubber washers that seal against the flow of water.
How to stop a leaky faucet
Fixing that leaky faucet doesn’t have to take a lot of time, money, or expertise. It’s usually a simple matter of replacing a worn-out washer or gasket, a loose O ring, or another part. Chances are really good you can do this yourself if you follow these simple steps.

Shut off the water.
Before you tackle the faucet, cut off the water supply to the sink. There should be one valve for hot and one for cold. Hand-turn them clockwise with your hands till they close. If there are no valves under the sink, head to the basement and shut off the main water supply to the house. Then turn on the faucet until it empties out the water that’s still in the line and you’re ready to start. It’s a good idea to cover the sink drain with a plug or a rag so you don’t lose any small pieces and parts while you’re working.
Remove the faucet handles…
If you have standard faucets, take off the caps on top of the handle with a regular screwdriver. Then unscrew the screws and pull the handles off.
…then the valve stem.
With the handle off, now you can detach the inner valve stem or cartridge. A brass valve stem can be unscrewed. Cartridge faucets can be pulled straight out.
Examine all the suspects.
Check the rubber washers, O-rings, and seals to see which parts have failed.
Replace the damaged parts.
Anything that’s worn out or damaged should be replaced. Bring the old parts with you to the store to make sure you buy the right ones.
Sanitize the valves.
After you’ve removed the stem or cartridge, check the valve body. Pour white vinegar over the valve seat, let it soak, then scrub away any mineral buildup.
Put it back together.
Once you have the new replacement parts and you’ve cleaned everything, you can put the faucet back together, turn the water supply back on and check for leaks.
Hopefully, you’ve saved yourself a minor annoyance and a whole lot of wasted water.
Not every leaky faucet is a simple DIY. That’s when it’s time to tap Frontdoor’s mobile app.
The new Frontdoor app makes getting the home repair and maintenance help you need easy and convenient. You can chat with an Expert in their trade in real-time via video for a diagnosis and best next steps, and get a list of vetted, local Pros should you need an in-home service visit to complete the repair.
Frontdoor assumes no responsibility, and specifically disclaims all liability, for your use of any and all information contained herein.
Was this article helpful?
