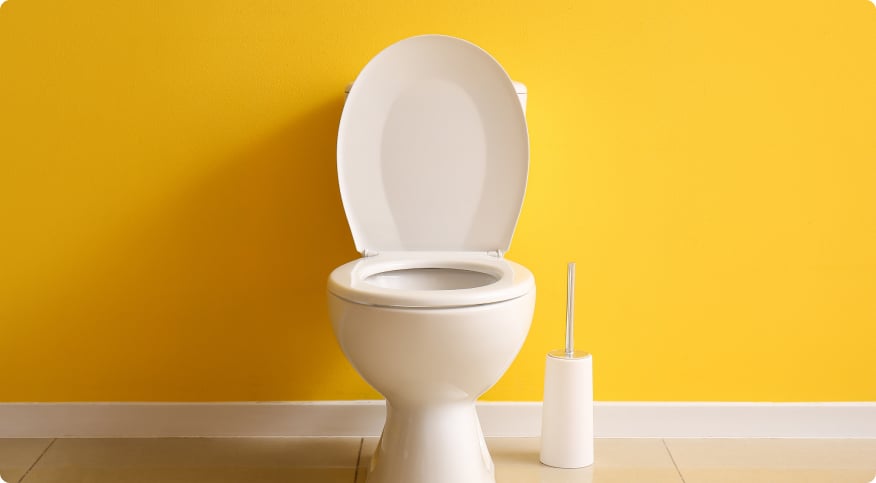
Are you dealing with a leaky, old toilet that's seen better days, want a more efficient, eco-friendly toilet, or are you just in the mood for a change? If you’re thinking about swapping out your toilet, you might also be thinking, “How in the heck do I replace a toilet?” Relax, we're here to walk you through the process, step by step.
First, do you need to replace your toilet?
How do you know it's time for a new throne?
Aside from toilet repair issues like replacing the handle or flapper of a toilet, there are a number of reasons for a total toilet replacement, including:
- The tank or base has cracks
- Constant clogging
- It’s simply too old
- It doesn’t flush like it used to
- You want to switch to a more sustainable, eco-friendly toilet
- It’s either too big or too small for the space
- You simply want a change or upgrade
Whatever the reason is for replacing your toilet, you're making a change for the better. And remember, a new toilet isn't just a fresh addition to your bathroom; it's a step towards efficiency and modernity.
Preparing for replacing a toilet
It sounds like a big deal but with a little guidance from our Experts it's very manageable. Before we dive into the nitty-gritty of replacing your toilet, there's a bit of prep work we need to do. So grab your tools (or just your curiosity), and let's get into it.
Gathering the right tools and materials
Here’s what you’ll need:
- A new toilet (of course)
- Adjustable wrench
- Screwdriver
- Putty knife
- Old towels or rags
- Wax ring
- Toilet bolts
- Channel lock pliers
- Supply line
Setting the stage for success: pre-installation tasks
Before you get your hands dirty, here’s what you need to do:
-
1
Turn off the Water: Look for the water valve behind your toilet and turn it clockwise. This step is crucial unless you want an impromptu indoor fountain.
-
2
Flush the Toilet: Hold down the handle to drain as much water as possible from the tank and bowl. Less water means less mess.
Pro Tip: Remove the water with either a car sponge, or best of all, a wet/dry vac.
-
3
Clean Up: Use old towels or a sponge to soak up any leftover water in the tank and bowl. Trust us, you’ll thank yourself later.
The step-by-step toilet replacement process
Now that you’re all prepped, let’s get down to the actual business of how to replace your toilet. putting your perfect new toilet in place. Let’s break it down into manageable pieces.
Removing the old toilet
-
1
Disconnect and Remove: Disconnect the water supply line from the toilet. Use your adjustable wrench for this. Remember, lefty-loosey, righty-tighty.
Pro Tip: Remove the tank from the bowl, if possible. It lightens the toilet and makes it easier to move. To do this, loosen the nut under the tank for the water line, and then remove the nuts that hold the tank to the bowl and remove the tank.
-
2
Unscrew and Lift: Pop the caps at the floor on either side of the toilet. Then unscrew the bolts (you might need a bit of elbow grease) and gently rock the toilet back and forth to break the seal. Then, lift the toilet straight up (it’s a bit heavy, so feel free to ask a friend for help) and move it aside. Laying it on an old towel or piece of cardboard will save your floors from scratches.
-
3
Clean the Scene: With the old toilet out, you'll see a wax ring and maybe some gunk on the floor flange. Grab your putty knife and clean it off. A clean surface is key to a good seal with your new toilet. Make sure the flange is clear of wax so the mounting bolts for the new toilet can easily slide in the grove. Also, check the flange for cracks.
Preparing the area for the new toilet
Place the new wax ring on the cleaned floor flange. No need for glue or tape; the weight of the toilet will create the seal. Then, set the new closet bolts into the flange. Make sure they’re upright and evenly spaced – they’re what your new toilet will anchor onto. Remember, if at any point during the installation you need help, be sure to reach out to a Frontdoor Expert for a live video chat.
![]()
Pro Tip: Some people mistakenly install the new wax ring on underside of the toilet. It is better to place it on the floor flange so it can’t fall off while you are setting the bowl.
Installing the new toilet
-
1
Position the Toilet: Carefully lift the new toilet and align it over the flange and bolts. Lower it gently but firmly to create a good seal on the wax ring. Press down to secure it, but no twisting or jumping – this isn't a pogo stick contest.
Pro Tip: If you tape drinking straws on the flange bolts after setting them in place, the straws serve as guidance to position the toilet as it’s carefully lowered into place.
-
2
Secure the Base: Put the washers and nuts on the closet bolts and tighten them down. Alternate sides to keep the pressure even and prevent cracking. Snug, not Superman tight.
-
3
Reattach the Tank: If your toilet comes in two pieces, now’s the time to secure the tank to the bowl. Follow the manufacturer’s instructions, but typically, you’ll first make sure the fill valve and flush valve are secure. Then install the tank to bowl gasket by placing the tank on the bowl, line up the holes, and tighten the connecting bolts.
Pro Tip: When installing the tank, make sure the tank-to-bowl gasket is seated properly and tighten down to the tank. This is critical to prevent leaks.
-
4
Connect Water Supply: It’s better to install a new supply line rather than use the old one. Reattach the new line to the tank. Turn the water valve back on and watch the tank fill up.
-
5
Final Check: Flush the toilet a few times to ensure everything’s working as it should. Check around the base and behind the toilet for any signs of leaks. If all looks good, you're all set!
And just like that, you've installed a new toilet! Not so scary, right? Feel like a plumbing pro yet?
Remember, if you hit a snag or just want to double-check something, Frontdoor is here to help. Video chat with a Frontdoor Expert for real-time advice or check out our How-to Tips for more guidance.
Ready for the next step in your home improvement journey? We're just a click away!

Was this article helpful?

