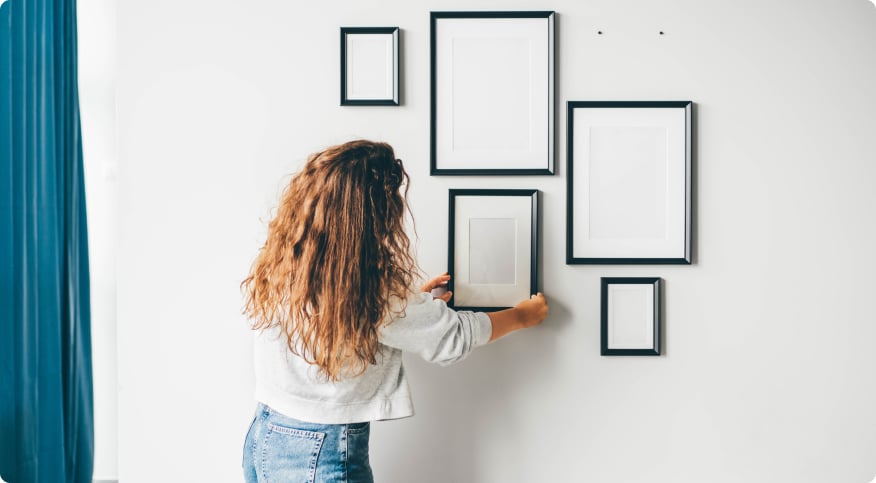
Have you ever noticed how a gallery wall can turn a plain room into something pretty special? Taking your favorite moments, artsy finds, or sentimental pictures and putting them together on one wall is a unique way to show off your style and make your space feel more like you.
But we know putting one together might seem a bit tricky at first—not all of us are interior designers! That’s where Frontdoor can help. We’ll share insights to get your gallery wall from idea to real-life display in no time.
How to plan a gallery wall
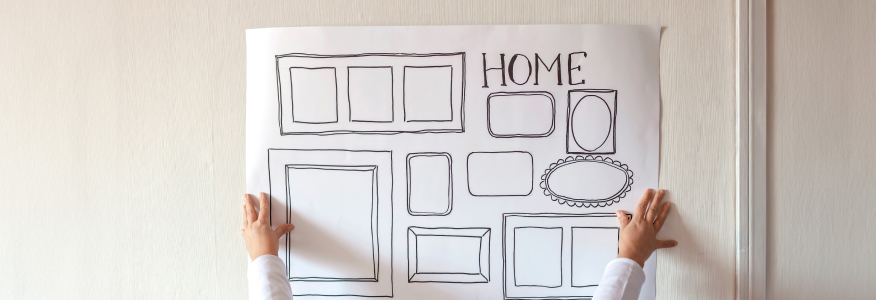
Design and layout
First, let’s map out a game plan for your wall. What story do you want it to tell? Are you into sleek black-and-white photography, vibrant paintings, or a mix of everything? This part is all about your personal aesthetic.
Once you've picked out your pieces, it's time to figure out how they’ll all fit together.
![]()
Pro Tip: Lay the pieces out on the floor or use paper templates to mimic the wall. Move things around until it feels just right. There are also some neat digital apps that can help you visualize everything before it all becomes permanent.
Gather your tools and materials
And now for the nuts and bolts—literally. Check out the list of tools below to make hanging your gallery wall a smooth and efficient process. If you feel like you need extra help before you get started, you can always video chat with a handyperson Expert to get your questions answered.
Tools:
- Hammer: for nails and hooks.
- Nails and Picture Hangers: these are the real MVPs. Pick the right size for your frames.
- Level: no one likes an off-kilter frame, right?
- Measuring Tape: because precision is key.
- Stud Finder: for heavier items that may need extra backing
- Anchors: a must when it’s not possible to hit a stud
- Pencil: for marking those picture perfect spots on your wall
- Eraser or Magic Eraser: just in case you need to undo those pencil marks.
How to hang a gallery wall
You've planned it all out, you've got your tools ready, and now it's time to transform your vision into reality. Let's get that gallery wall up!
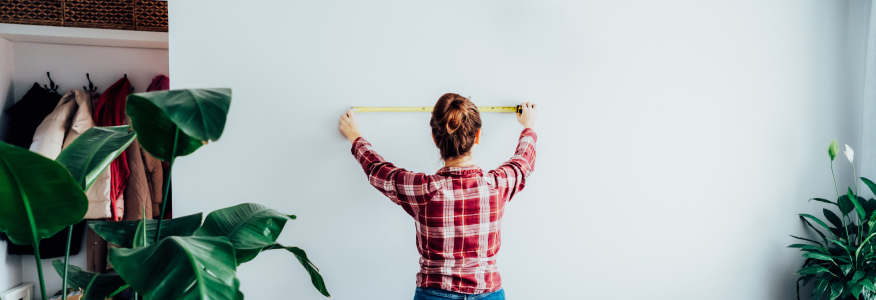
Marking and measuring
If you’re wondering how to hang your gallery wall evenly, it’s all about marking and measuring. Start by placing your largest piece roughly at eye level—that's usually about 57 inches from the floor to the center of the art. This piece is your anchor; everything else will work around it.
When it comes to spacing, aim for about 2 to 3 inches between each frame—close enough to feel connected, but not so close that it feels crowded. Use your measuring tape to keep everything even.
Take your pencil and mark where the top of each frame will sit. Then, measure where the nail or hook needs to go in relation to the top of the frame. Mark that spot.
If you need an extra hand during this proccess, feel free to video chat with a handyperson Expert to get your questions answered.
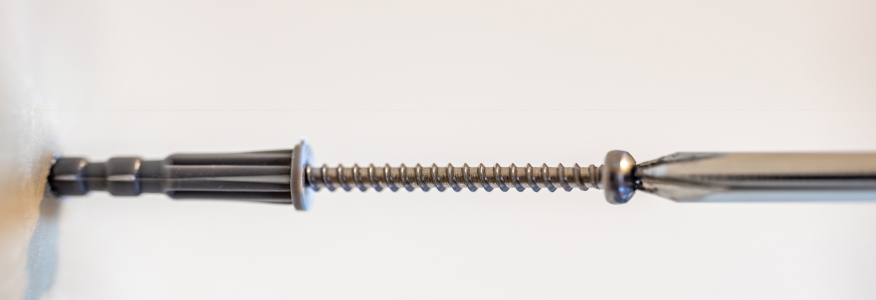
Hanging a gallery wall
And now, it’s time to hang everything up!
Here’s how to do it, step by step, starting with your anchor piece:
-
1
Position your largest or central piece first. This is your anchor, setting the tone for the rest of the gallery.
-
2
Measure the distance from the top of the frame to the hanging mechanism (wire, hook, etc.).
-
3
Transfer this measurement to the wall from your initial mark, ensuring it’s centered. This is where your nail or hook will go.
-
4
Hammer in the nail or secure the hook firmly into the wall. If you’re using a drywall, consider using a wall anchor for heavier frames to prevent damage.
Continue with the remaining pieces, working outward from the center, maintaining uniform spacing and using your level as you go. For each surrounding piece, measure the distance from the top of the frame to the hanging mechanism. Use your level and measuring tape to mark the wall, mirroring the layout on the floor, adjusting for spacing between frames (typically 2-3 inches).
Then, repeat this process.
Remember to step back periodically to view the overall arrangement. It’s easier to adjust as you go rather than shuffling multiple pieces at the end. Then, before securing all hardware, place your level on top of each frame as you hang them to ensure they're perfectly horizontal. Small adjustments can be made by gently tapping the bottom corners of the frames or adjusting the position of the nails/hooks slightly.
Once you’re satisfied with the arrangement and positioning, you may want to secure the frames to prevent them from shifting. You can use small adhesive strips on the bottom corners to keep them in place without damaging your walls.
Take a step back to enjoy your wall
And just like that, you’re done! Your once bare wall is now a reflection of your taste and memories. From planning, to measuring, to hanging, you can step back and enjoy your mini art gallery. Remember, if any steps along the way feel tricky, Frontdoor’s Experts are just a video chat away. They’re like your friendly neighborhood handyman, always ready to lend a hand or an eye for detail.

Was this article helpful?

